Administration
The Administration group in the “Node” area covers the node server services, storages, hardware, license and maintenance. The screens of the group are available to the administrator role. Initial node setup is described in First start and activation.
Server Settings
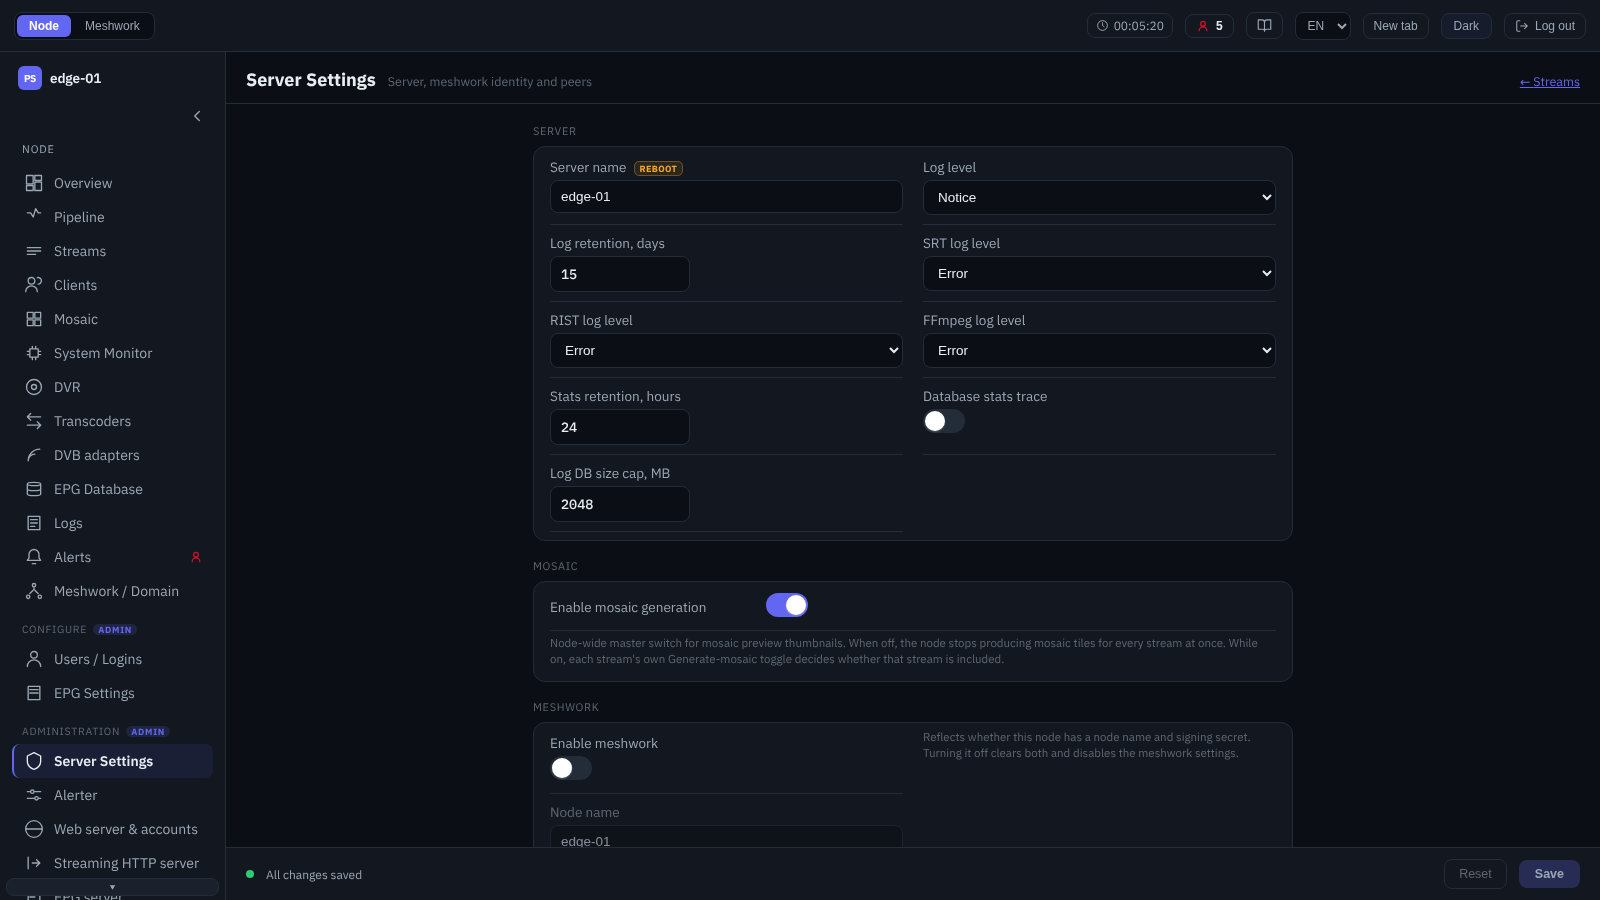
Server Settings.
General node parameters. The screen combines several settings groups under a single save panel:
- Server
Server name, log level (global and separately for the SRT, RIST and FFmpeg libraries), log retention period, database statistics depth and tracing, and the size limits of both databases — logs and statistics.
The statistics database is bounded from two sides. “Statistics retention, hours” sets the window, “Statistics DB size limit, MB” the volume: zero means “no limit”, and the database is then trimmed by the window alone; a non-zero value below 16 MB is raised by the node to 16. Under the field the node reports on the last cleanup — how much history is left, how large the database is and how long the cleanup took — and if the size limit has turned out to be stricter than the window, it also states there how much history is actually kept against what was configured.
- Mosaic
Node-wide switch for mosaic generation; the mosaic itself — Mosaic.
- Meshwork
Enabling the node participation in Meshwork and its identification: node name, note, Meshwork domain, as well as the public HTTP and HTTPS ports and additional domains — the addresses at which the node is reachable from outside (Nodes behind NAT). The identity model — Node identity.
- Meshwork peers
The list of peer nodes and the shared signing secret for secure exchange (Peers and secrets).
- Meshwork contact (advanced)
Peer polling parameters: the number of worker threads and the contact timeout.
Initial node setup — in Initial settings; Meshwork deployment — in Building a Meshwork network.
Alerter
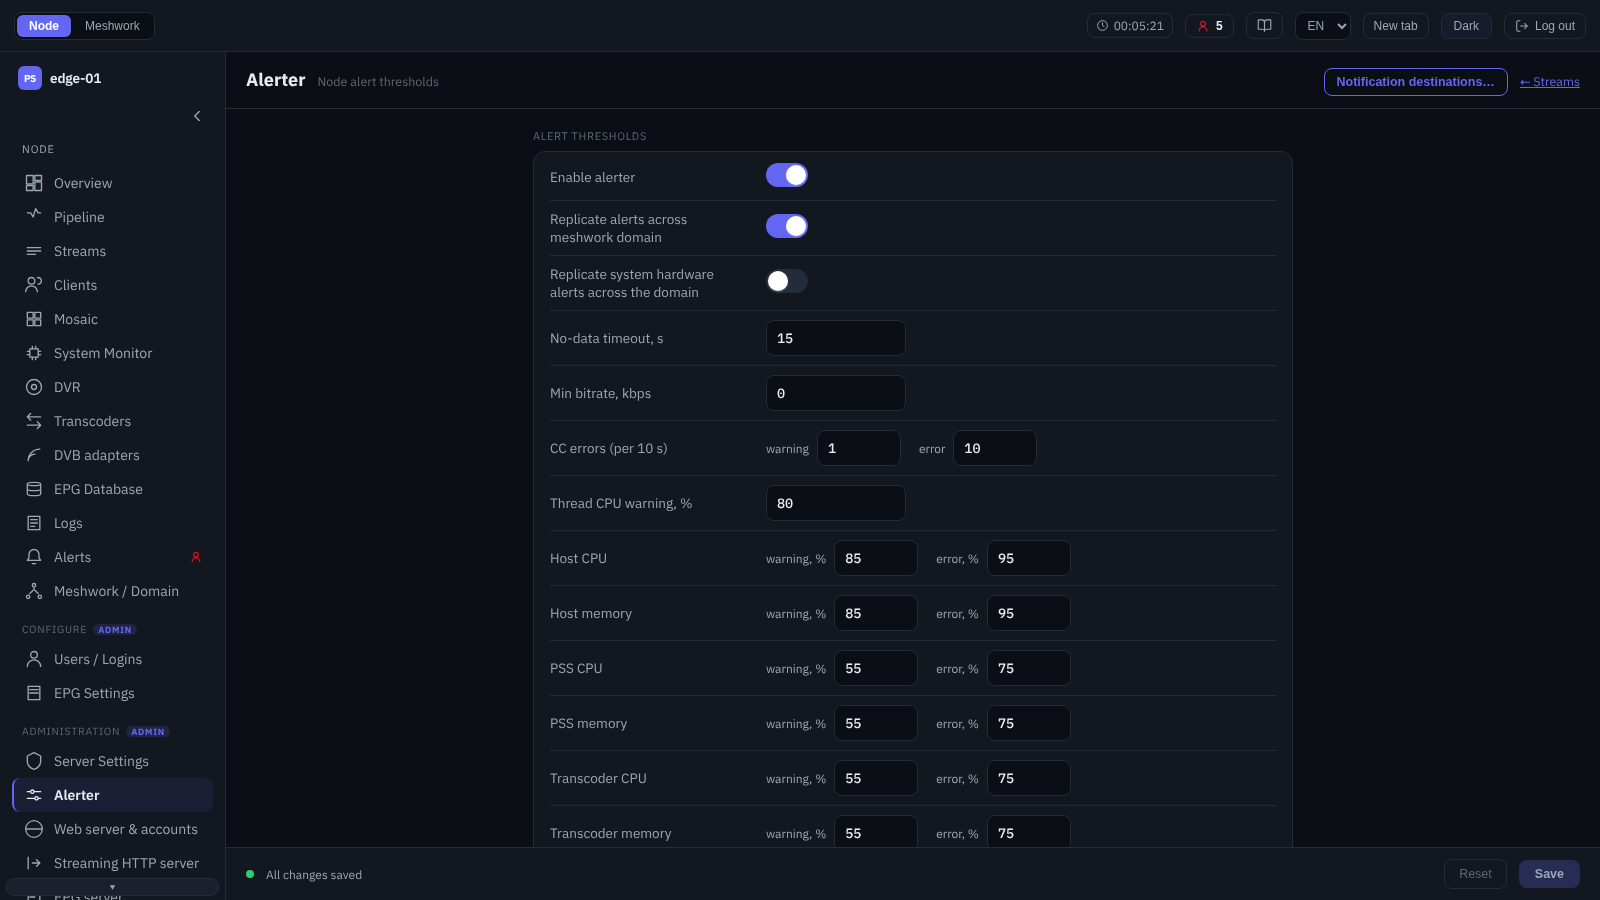
Alerter settings.
Node alert trigger thresholds and their replication rules. In addition to the global alerter enable, the following are set:
stream thresholds — no-data timeout, minimum bitrate, CC error counters (“warning / error” pairs);
a separate warning on the CPU load of the worker thread that serves a stream or a DVB adapter (as a percentage);
resource thresholds — host CPU and memory, process and transcoder CPU and memory, network load, GPU, disk usage (in percent, “warning / error” pairs);
DVR storage read/write time;
if DVB reception is present — frontend signal quality thresholds (signal level, SNR, bit error rate, uncorrected blocks).
Underneath the global enable, the node reminds you how far this switch reaches: a switched-off alerter also silences the external deliveries — process, Telegram and e-mail — including alerts replicated from meshwork peers, and the notice that an incident already reported has been cleared.
Replication of alerts across the Meshwork domain and, separately, of system hardware alerts is enabled here as well (Domain-wide replication of alerts). External delivery is configured in a separate window (Alert destinations).
The alert model is described in How an alert works, the thresholds — in Alerter settings. Active alerts are viewed on the Alerts screen.
Alert destinations
The external alert delivery window is opened from the Alerter screen. The channels are split across tabs; each has its own minimum event severity threshold:
- Process
Execution of an external command on an alert event with a specified timeout.
- Telegram
Delivery to Telegram: the bot token and the list of chat IDs.
Delivery over SMTP: server host and port, TLS mode (STARTTLS, implicit TLS or no encryption), server certificate validation, credentials, sender and recipient addresses.
All tabs of the window obey the global alerter enable on the Alerter screen: with the service switched off a configured channel sends nothing. The delivery rules are described in External alert delivery.
Web server & accounts
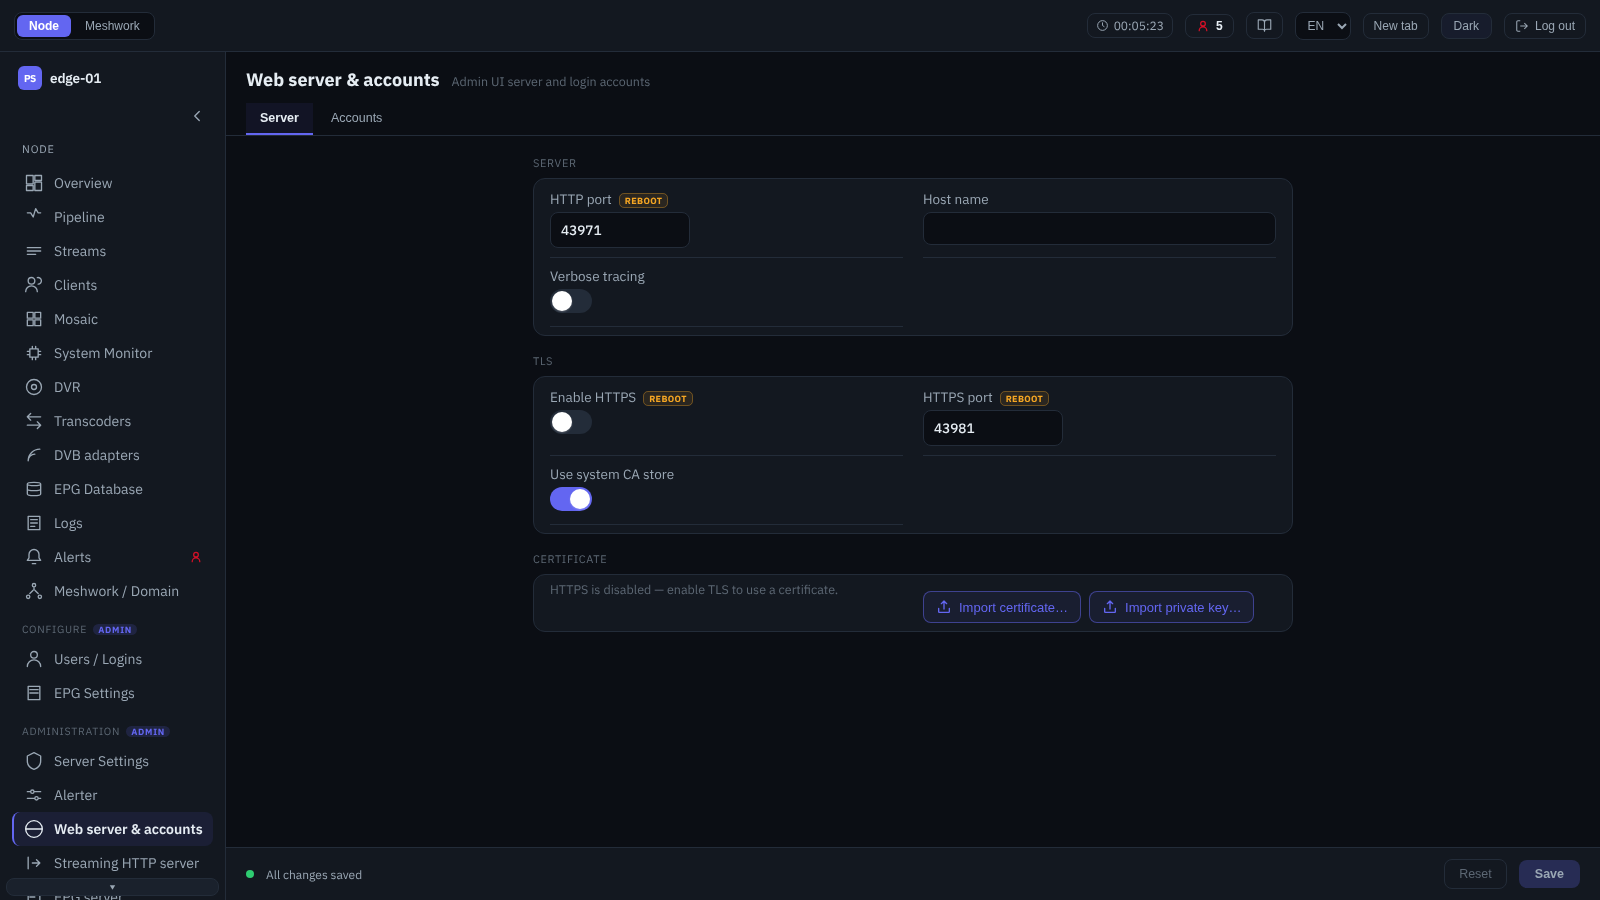
Web server & accounts.
Configuration of the administration panel web server and of the login accounts. The screen contains the tabs:
- Server
HTTP port and host name, HTTPS enable with a separate port and CA store selection, verbose tracing. While HTTPS is disabled, the “HTTPS port” and the CA store selection are greyed out with the note “HTTPS is disabled — enable TLS to use the certificate.”; the fields respond to the toggle itself, without waiting for a save, and the entered values are not lost. Below — the details of the current TLS certificate (subject, issuer, validity period, SAN) with the actions to import the certificate and the private key and to reload TLS; with HTTPS disabled the panel shows the same note instead of the details, but the import remains available.
- Accounts
Local panel login accounts and their roles — Admin, Restricted admin, Viewer (Access and roles). For each of them the login, password and role are set; entries can be added, edited and deleted. On creation the password is mandatory; on edit the password field is shown empty, and if it is left blank the password stays unchanged.
The last switch of an account is “Auto sign-in”, off by default. With it, a browser that has once signed in under this account opens the panel of this node without the sign-in form for the next 14 days; accounts with auto sign-in are marked in the list with the word “Auto sign-in”. The period is counted from the sign-in and is not extended by work: once it expires, the form appears again. A link to an adjacent node followed from this panel carries the session further — a node of the domain opens already signed in. There are several conditions to this. The neighbour must publish its entry point, HTTP or HTTPS — it is visible in the details of its row on the “Nodes” screen (Nodes). The domain through which the nodes see each other must be the own domain of both: a link only through the additional domain of the super-node mode carries the session in neither direction. And if the neighbour has its own account with the same login, its own switch decides: with “Auto sign-in” off it does not accept such a session. When something of this is not met, an available neighbour still opens — but at its own address and with the sign-in form. An address of a neighbour typed by hand does not carry the session either — just as an account without auto sign-in.
The node explains a refusal itself: a bar “Opened without sign-in: …” with the reason appears above the content. There are four kinds of reason — two are named by the node the transition came from, two more are reported by the neighbour itself:
there is no auto sign-in session in this browser for the node the transition came from;
the shared domain is not the main one for the node the transition came from — this happens with a super-node that sees the neighbour only through an additional domain;
the neighbour knows this account, but auto sign-in is not enabled for it there;
the neighbour did not accept the hand-off session: it is unknown to it, has expired or has been revoked.
In practice the third reason is the most common: auto sign-in is off by default, so it is what ends a transition to a node where the same account has simply been created anew. The bar is drawn by the neighbour’s admin UI, so on the neighbour’s earlier builds none of the four reasons appears: such a neighbour does not report its own two, and does not understand the other two — the transition ends with the sign-in form without an explanation. The bar appears when the neighbour’s admin UI has opened, that is, already after the sign-in if one was needed; it is closed with the cross and does not come back after the page is reloaded.
Auto sign-in is tied to a single browser — signing in with the same account in another browser works as usual, but there will be no auto sign-in in it. Auto sign-in is terminated by the “Log out” button, and also by turning the switch off, changing the role, renaming and deleting the account: the session is closed within a few seconds after saving. The switch is available for an account of any role, so it should be enabled with an eye on the rights of that account.
Automatic certificate issuance — on the HTTPS certificates screen; reloading TLS without a restart — also in Maintenance. Service ports and initial setup are described in Initial settings.
Streaming HTTP server
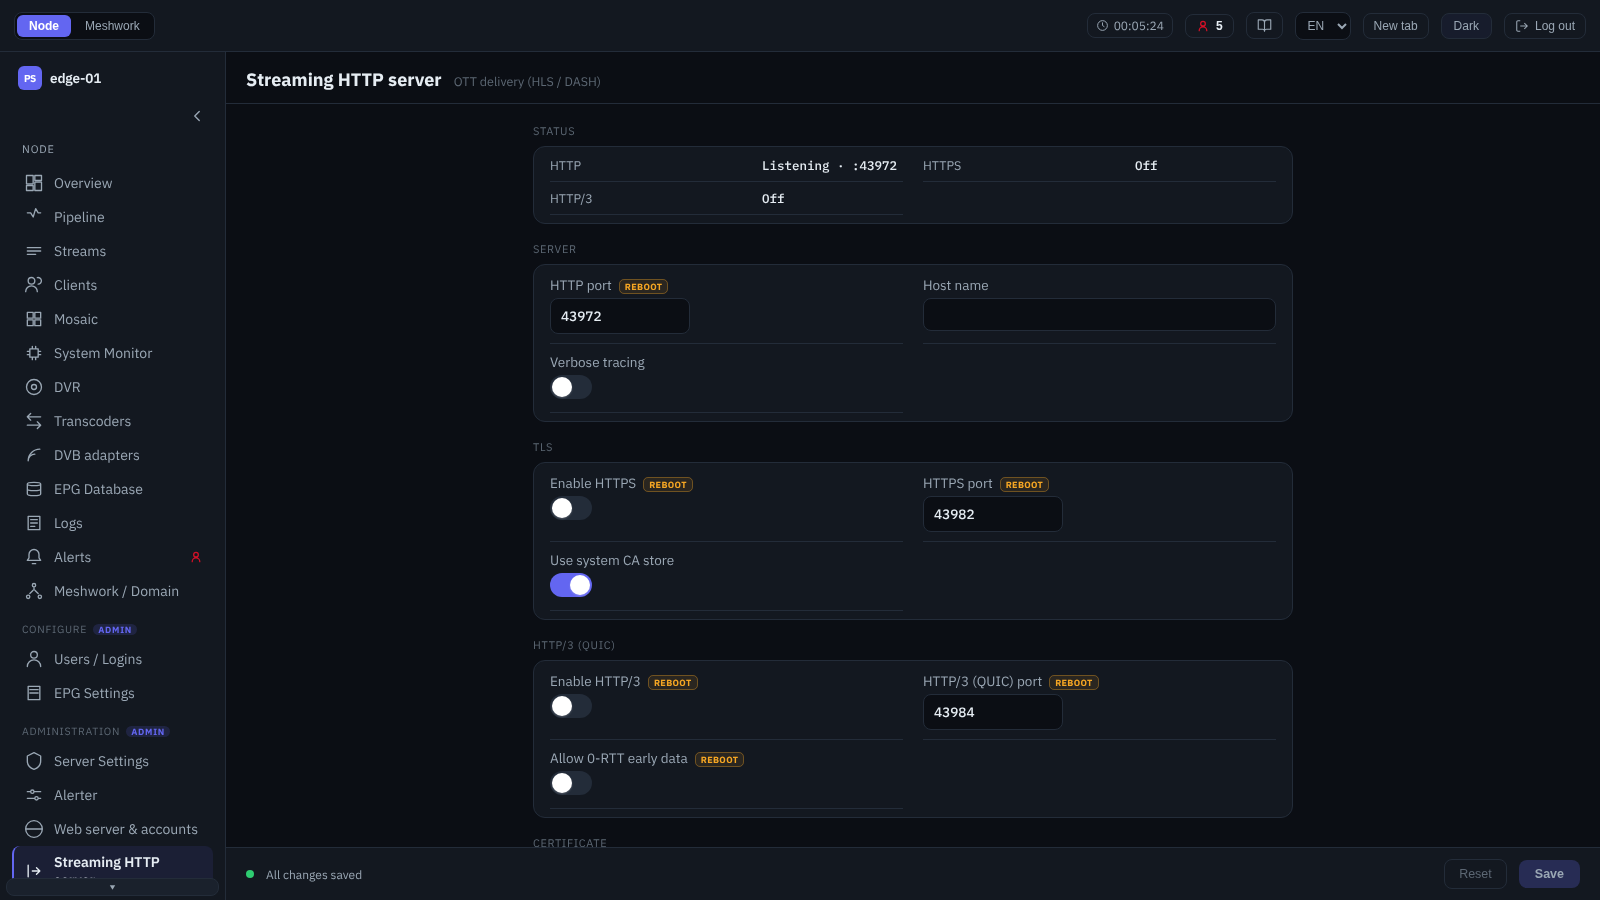
Streaming HTTP server.
Configuration of the built-in HTTP server for stream delivery (OTT delivery, HLS/DASH playlists and segments). At the top — the status of the listeners (HTTP, HTTPS, HTTP/3). The following are configured:
- Server
HTTP port, host name, verbose tracing.
- TLS
HTTPS enable with a separate port and CA store selection. The port and the store are greyed out while HTTPS is disabled.
- HTTP/3 (QUIC)
HTTP/3 enable on a separate UDP port and permission for 0-RTT early data; the port and 0-RTT are greyed out while HTTP/3 itself is disabled. This block does not depend on HTTPS: HTTP/3 is a separate listener, it takes the certificate files directly and works with HTTPS disabled. The “Status” block shows exactly that: “HTTPS” may stand at “Off” while “HTTP/3” is running.
Below — the panel of the current TLS certificate with import and TLS reload. The panel follows HTTPS only, so with HTTPS disabled it stays silent even when the same certificate is served over HTTP/3. Delivery is described in OTT and DVR, the HTTP/3 transport — in HTTP/3 (QUIC).
EPG server
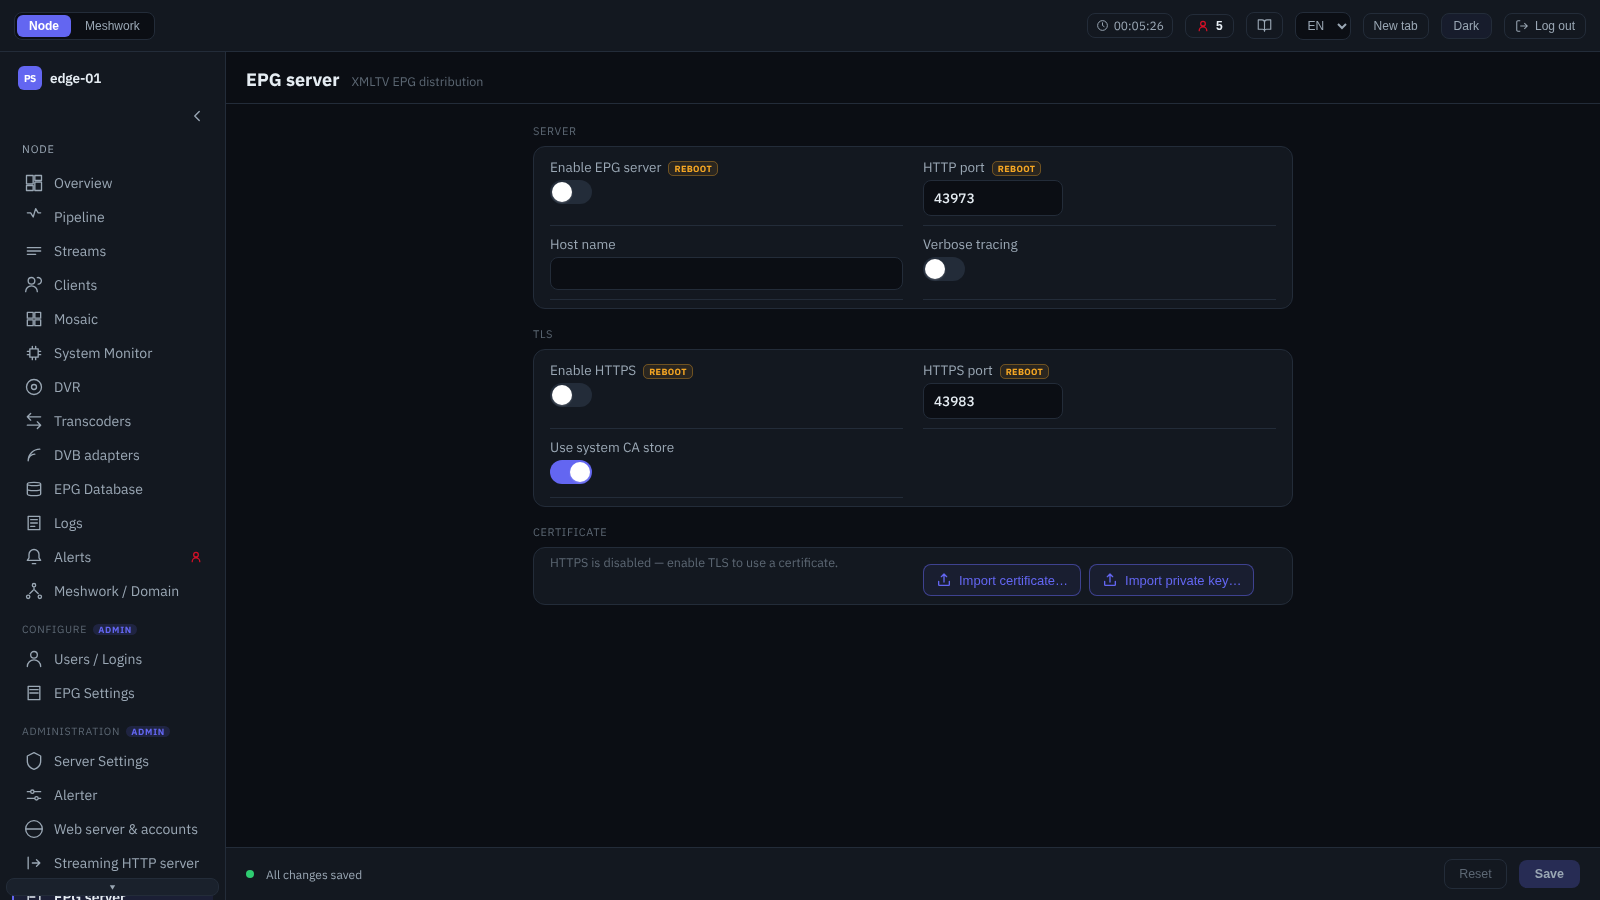
EPG server.
Configuration of the EPG (XMLTV) delivery service for external consumers — middleware and applications. The service enable, the port, the host name and the verbose trace, HTTPS with a separate port and CA store, and the TLS certificate panel are set here. The HTTPS port and the CA store are greyed out while the service is disabled or HTTPS is disabled. EPG access accounts and channel sets are configured separately, on the EPG Settings screen. Middleware integration is described in EPG for OTT middleware.
HTTPS certificates
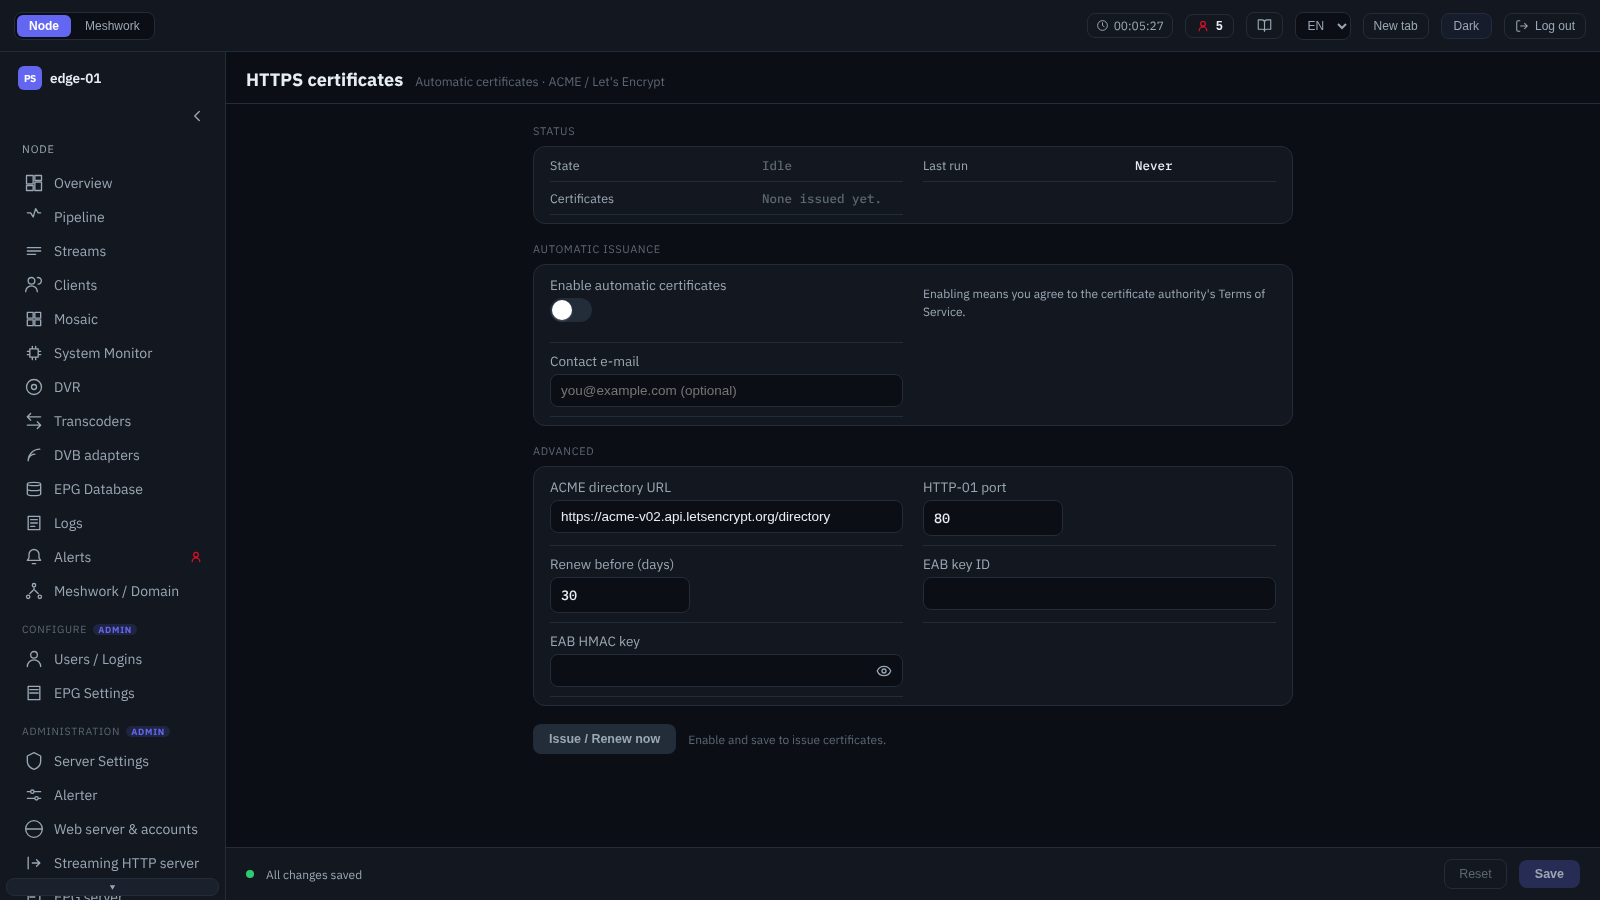
HTTPS certificates (ACME).
Automatic issuance and renewal of TLS certificates via ACME (Let’s Encrypt). At the top — the status: the issuance state, the time of the last run, the ACME account and the list of issued certificates with their validity periods. The following are configured:
- Automatic issuance
Enable and the contact e-mail. Enabling implies acceptance of the certificate authority terms.
- Advanced
The ACME directory URL, the HTTP-01 validation port, the advance renewal period and the external account binding (EAB) parameters.
The “Issue / renew now” action starts issuance immediately. Uploading own certificates is performed on the screens of the corresponding services (Web server & accounts, Streaming HTTP server, EPG server). Enabling TLS is described in Initial settings.
DVR storages
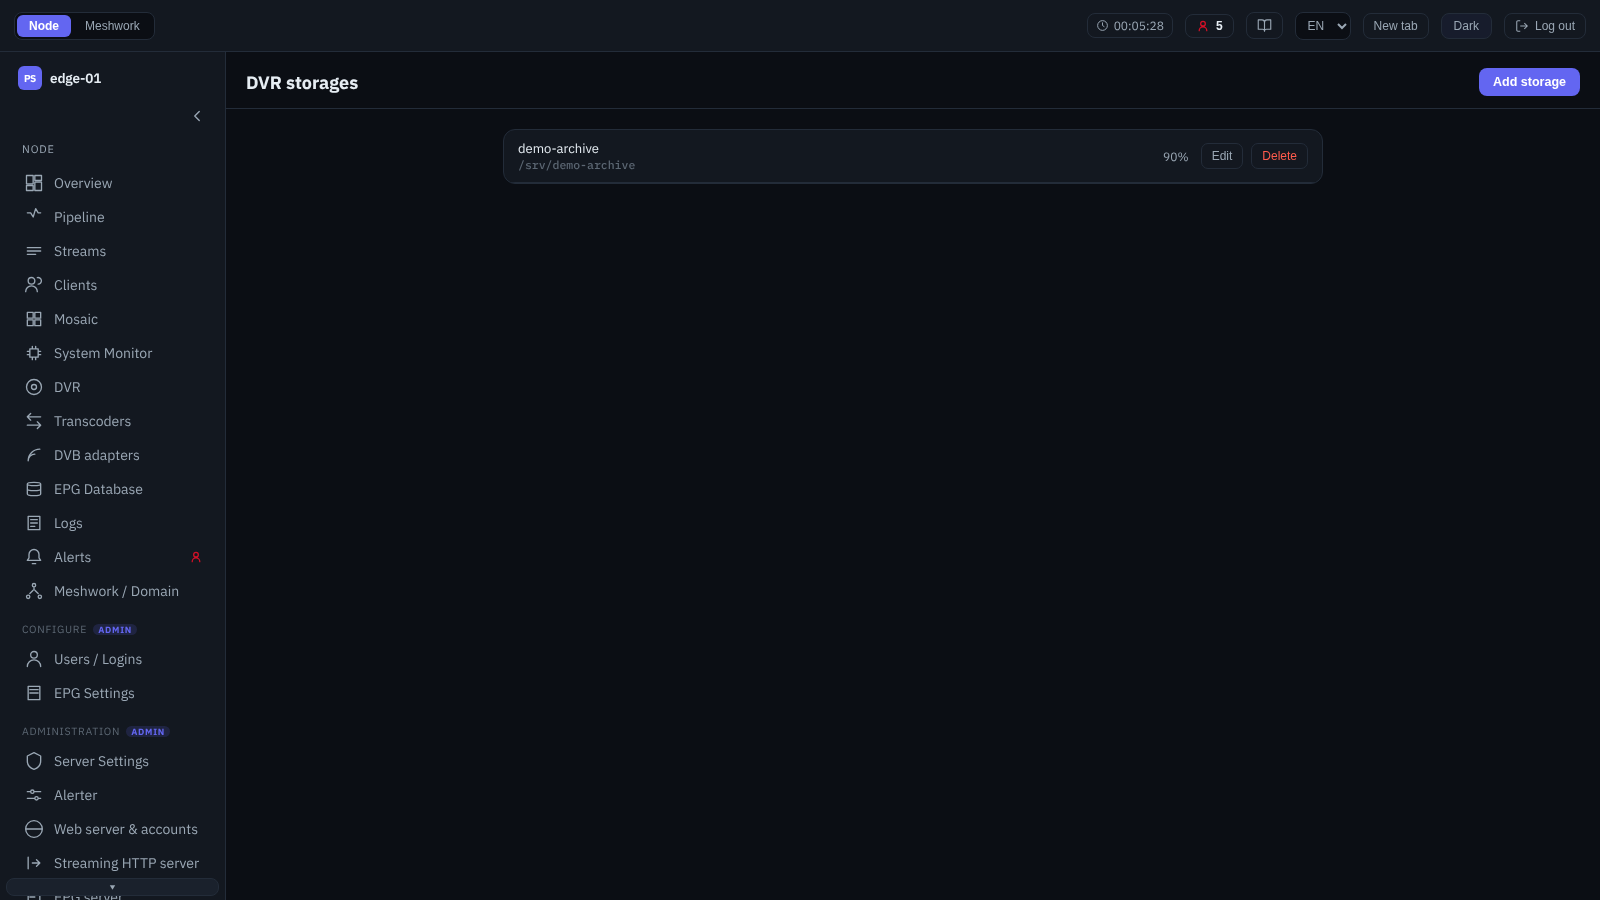
DVR storages.
DVR archive directories. Storages can be added, edited and deleted; for each of them the name, the directory path (immutable after creation), a note and the maximum disk usage are set. The “Directory path” is written without a trailing /: a path ending in a separator will not be accepted by the node (the root / itself is the exception), and the text of the refusal comes from the node as it is, in English. Editing the path is closed, so an entry created with a separator on earlier builds is corrected by deleting it and creating it again. A separate group governs the behavior when disk space runs short: the cleanup interval, the delay and the truncation on overflow, the emergency reserve and the cleanup hysteresis. Lowering the usage limit truncates the oldest archive; deleting a storage leaves the files on disk, but the attached streams lose access to VOD. The current disk occupancy is observed on the DVR monitor screen. Archive recording and playback are described in DVR storages and OTT and DVR.
Maintenance
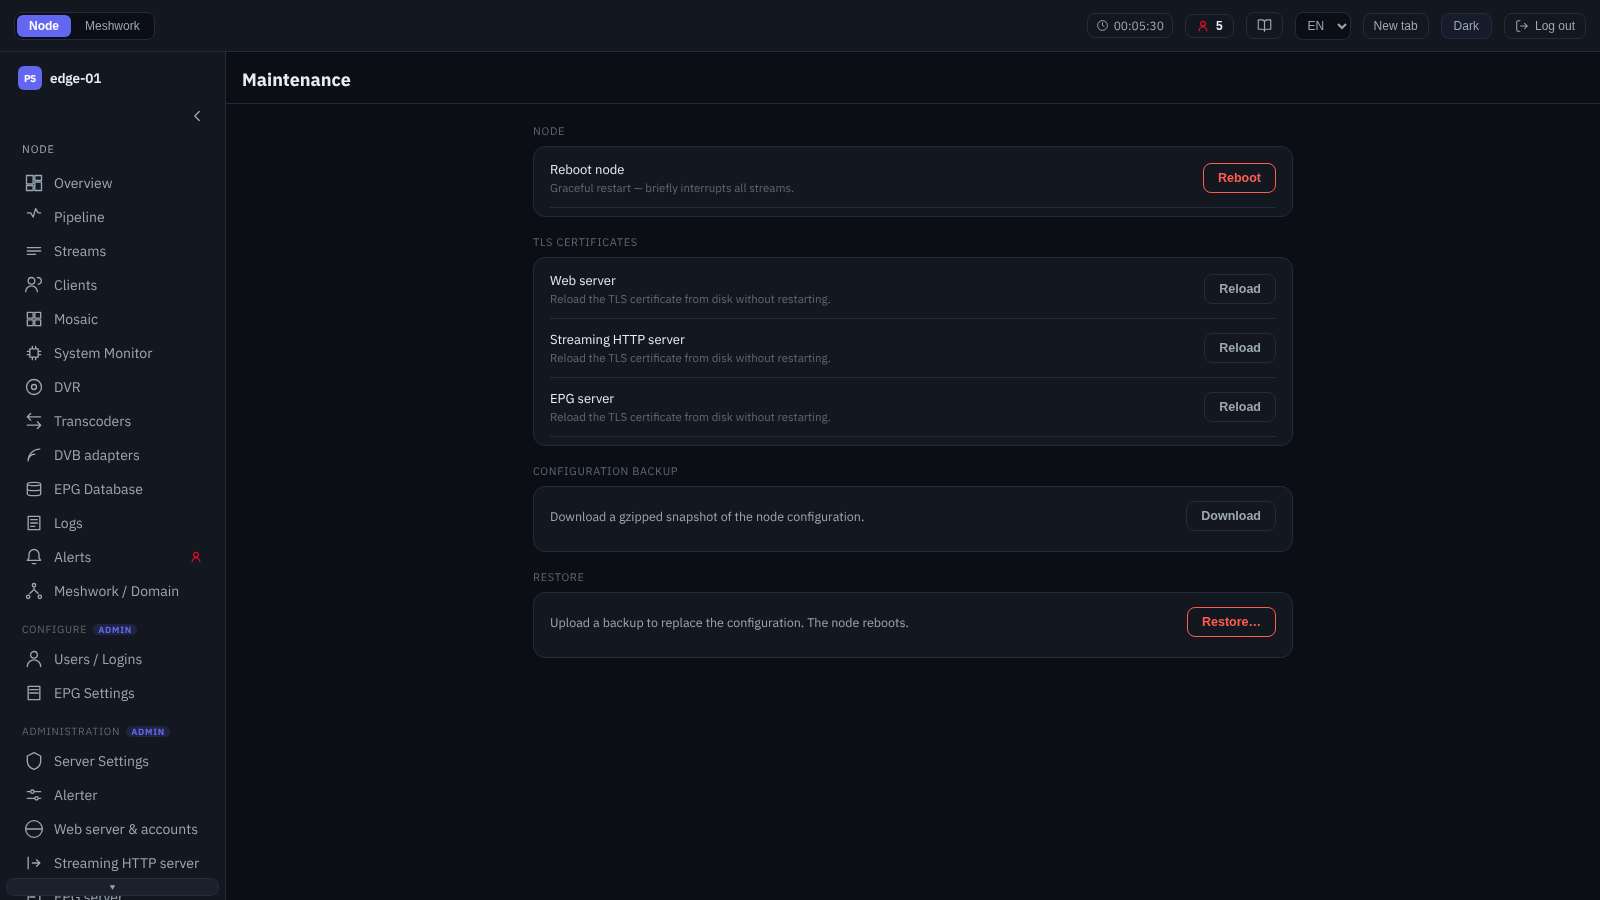
Maintenance.
Node service operations, grouped into sections:
- Node
A graceful node reboot with confirmation — briefly interrupts all streams.
- TLS certificates
Re-reading the TLS certificate from disk without a restart — separately for the web server, the streaming HTTP server and the EPG server.
- Configuration backup
Download of a gzip snapshot of the node configuration.
- Restore
Upload of a previously saved copy: the configuration is replaced, the node is rebooted.
Files and services are described in Files and services.
Hardware
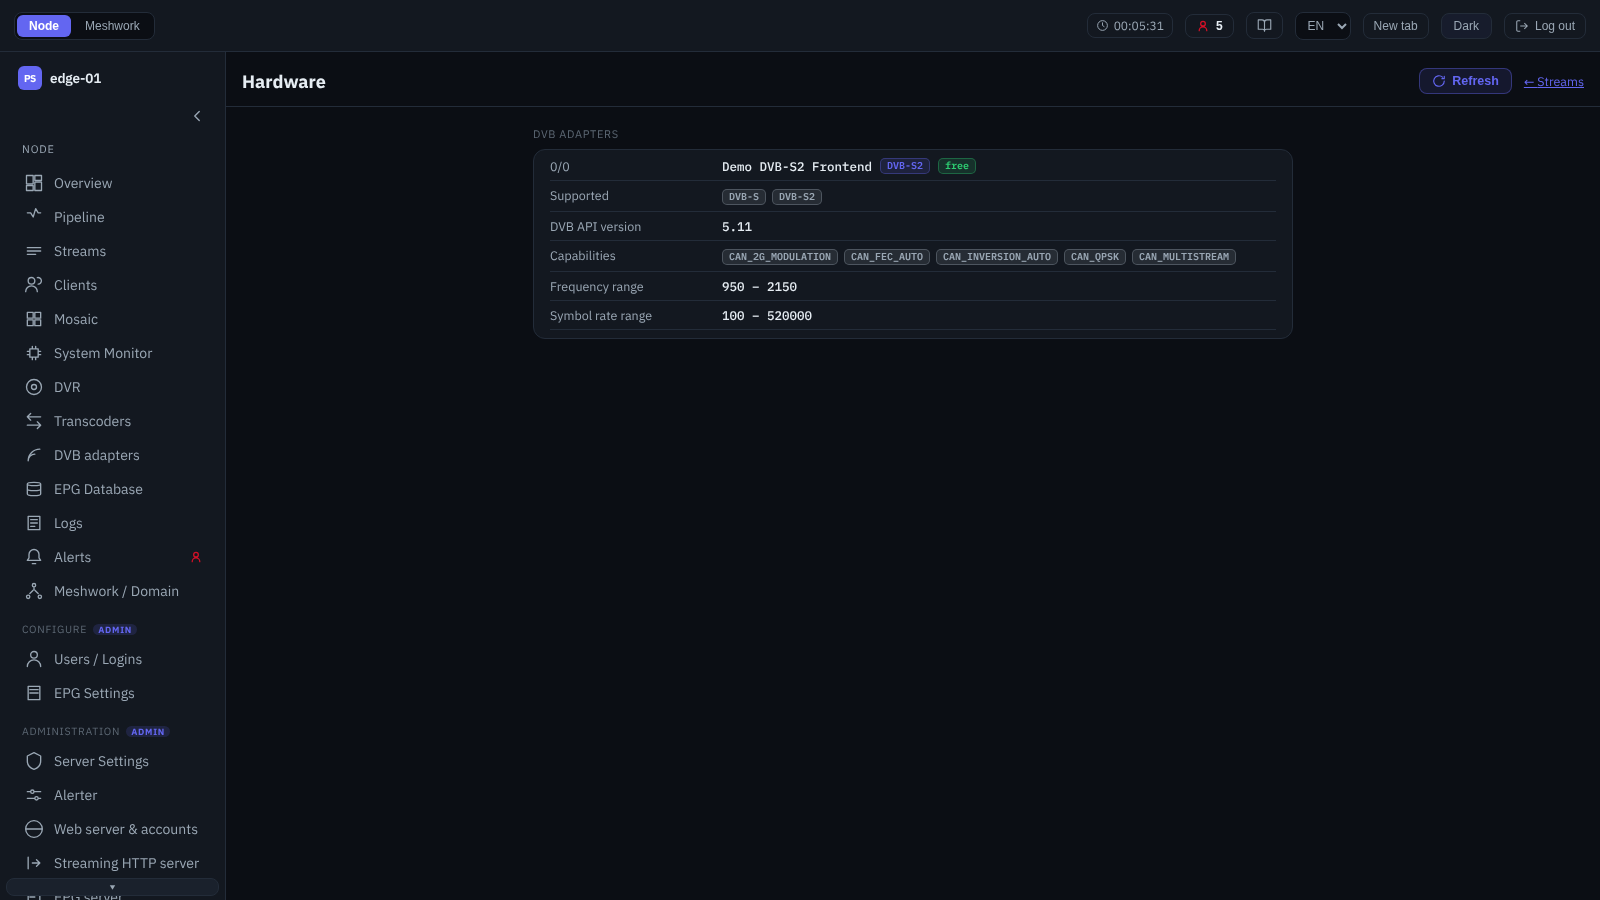
Hardware.
The detected reception hardware available to the node (read-only; the refresh button re-reads the list). Two blocks:
- DVB adapters
DVB reception frontends: name, supported delivery systems, DVB API version, capabilities, frequency and symbol rate ranges, the busy flag.
- CAM modules
CI/CAM slots: the inserted module and its model, the slot type and state, the CA system identifiers and the subscription (descrambling) status per program.
This is also where the two kinds of module are distinguished, and it is the only place in the interface where the difference is named outright. The collapsed slot header carries a “Model A” or “Model B” badge, and the expanded body a “Model” row with the value A (sec-pump) or B (welded); the letter and the word come from the node and are not translated. Model A is a separate module through which the whole input of a stream is pumped; it is armed on the input (CI/CAM on a stream input). Model B is a module welded into the tuner; it is armed on the DVB adapter itself, by the adapter’s own program (Descrambling). Nowhere else in the interface is the letter shown: the operator arming a module tells them apart by where it is done.
The “Module ID” row is the passport of the module itself: the manufacturer identifier, the product code and, when the module reports it, the EN 50221 application type (4A60:0001 · type 1). The row appeared in 2.0.2.362; in the same build the node began decoding the module name, so Cyrillic names stopped arriving garbled.
Three rows of the slot concern its lease: “CI lease” with the value “Taken” or “Free”, “Held by” with the holder’s service prefix in a monospace font, and “Module message” with whatever the module last put on the screen. The rows appear only when the node reports a value, so a free slot has no “Held by” row. They are not to be confused with the “free” and “busy” of the DVB adapter block: there it is about the tuner, here about the lease of a slot.
Releasing a slot. The “Hardware” screen otherwise only reads; it carries two actions, and both sit side by side in the body of the expanded slot, below all the value rows. The first is “Release”. The button is available to the administrator only. A model B module has none at all: such a slot holds no lease, and the call could only fail. When nobody holds the slot, the button is visible but locked, and the reason is written next to it: “Nothing to release: no input holds the slot.”. On a node older than 2.0.2.361 the action does not exist.
The confirmation — “Release the CI slot?” — also states the order of the steps: “The slot is held by {holder}. First clear cam-device on that input: a running input will take the slot back in about two seconds. The call itself may take a couple of seconds.”. It is worth reading literally: the release does not stick. A running input will take the slot back almost at once, so the slot is first cleared on the input and only then released. The call does indeed take a second or two while the pumps are brought together — the button shows itself busy for that time.
There are four outcomes. The slot has been released — the dialog closes, “The CI slot has been released.” appears, and the slot list is read again. Nobody was holding the slot — that is a success too: the dialog closes with the message “Nobody holds the slot.”. The slot is changing hands right now — the dialog stays open with “The slot is changing hands right now. Try again in a moment.”, so that one click repeats it. Any other failure — the dialog stays open and shows the node’s own message, or, if the node has not sent one, “The CI slot could not be released.”.
DVB reception is described in DVB receiver and Adapters, working with CAM and descrambling — in Descrambling. The detected transcoding devices are shown on the About screen.
License
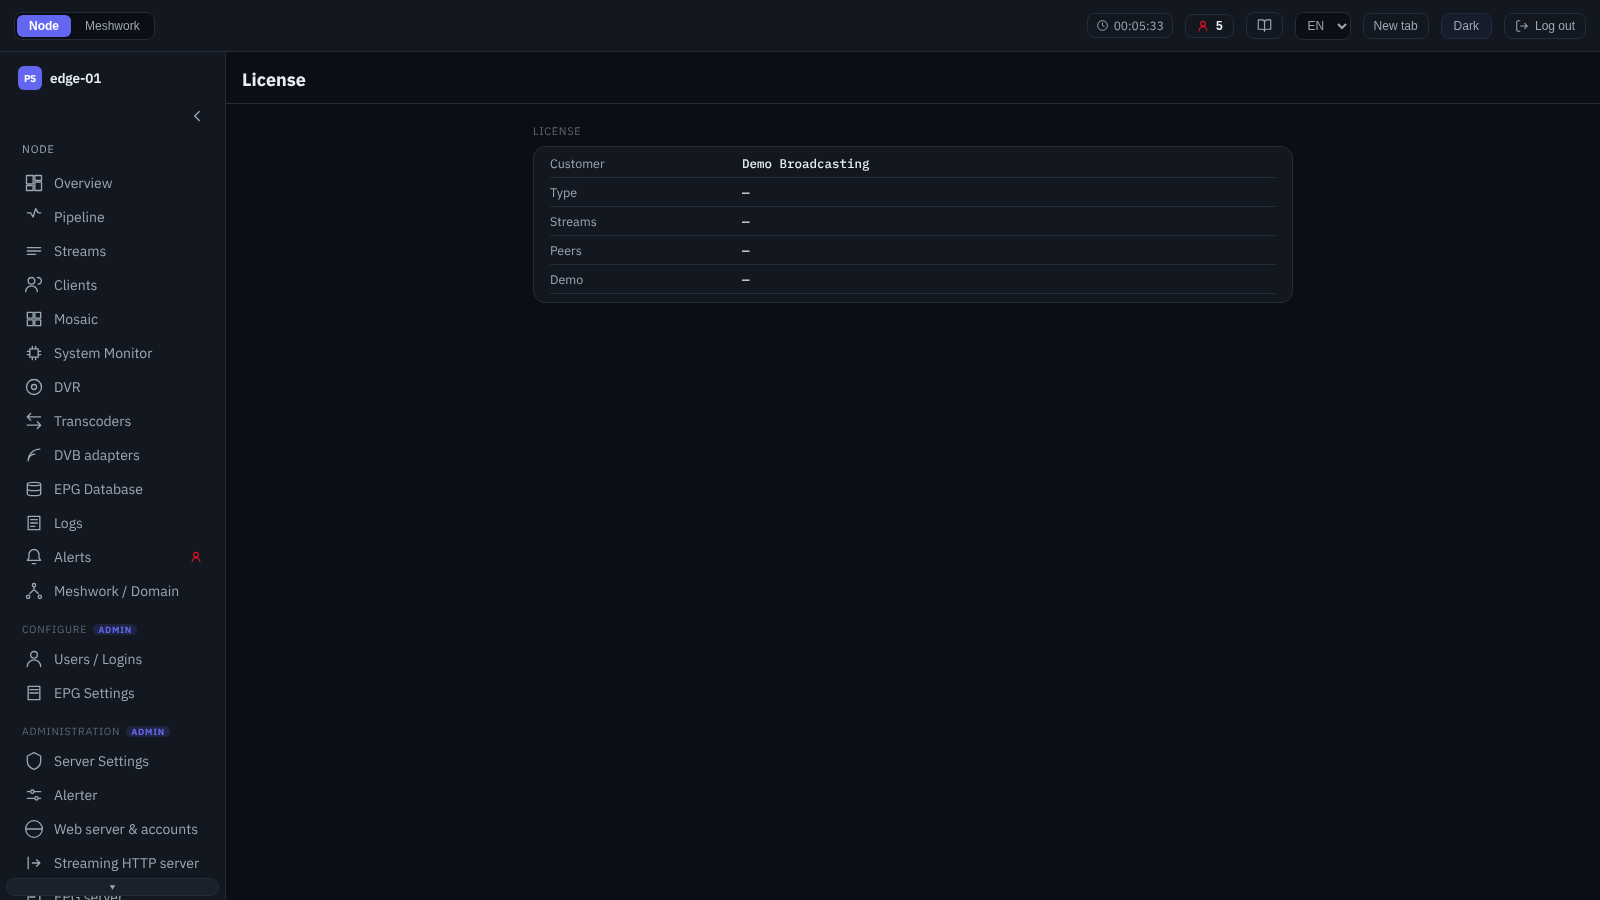
License.
Node license information: customer, license type, key format, the start of validity and the licensed time; when the node reports the identifier and the type of the key, the HASP block is shown. The limits shown are what the license permits, not what the node is spending right now; an axis on which there is no limit is not shown at all. On a demonstration build the same lines describe its own built-in ceilings rather than a license, and the only thing that tells this case apart is the “Demo” flag. Permanent activation with SL/HL keys is described in Permanent activation; the behavior on license expiry — in When the annual or trial license expires.
The “Activation” section works on a node that has the protection system — whether the key is a software one or a USB one makes no difference. If the node has no activation data, the section says exactly that and shows no buttons; this is a normal state, not an error.
“Customer data” — the export of the key state for the supplier: “Download C2V file” saves a file named after the key identifier, “Copy C2V” puts the same content on the clipboard. The node sends nothing outward while doing so — both actions merely hand the operator one and the same text. If the browser has denied access to the clipboard, the interface says so; downloading always works.
“Activate license” — applying the V2C key sent by the supplier: “Upload V2C file…” opens the file chooser, “Paste V2C…” — a field for pasting the text. The “Activate” button is enabled only after a file has been chosen or the field has been filled in.
Applying the key restarts the node: a few seconds after the key has been accepted the service goes down for a restart — it cannot be postponed, and the activation windows warn about it in advance. While the node is unavailable the interface holds a waiting screen and comes back on its own once the node is up.
A rejected key leaves the window open and shows the node’s own message — it is that message that has to be read, because refusals differ, and so do their consequences. The key may not have fitted at all: then nothing on the key has changed. But the key may already have been written and the refusal have arrived after that — this is what happens when the node could not re-read what it had written, and when the resulting license turned out to be expired. The license screen will not re-read itself: to see what is on the key now, the page has to be opened anew.
Two refusals are more dangerous than the rest, and they must not be read as “nothing happened”: the node reports that the licence has been applied but is already expired, or that it has been applied but found not to be genuine (the text, like all the node’s answers here, arrives in English). In both cases an unusable licence is already on the key, and a node with such a licence goes off to restart by itself and does not come back up. Either of these two refusals means that another key is needed, and needed immediately.
Transferring the license to another node is not provided for in the interface; it, like applying an update and exporting the C2V from the command line, is performed by the pss_lic utility (PSS Lic Perfect Streamer Toolkit v2.0 — the node license).
About
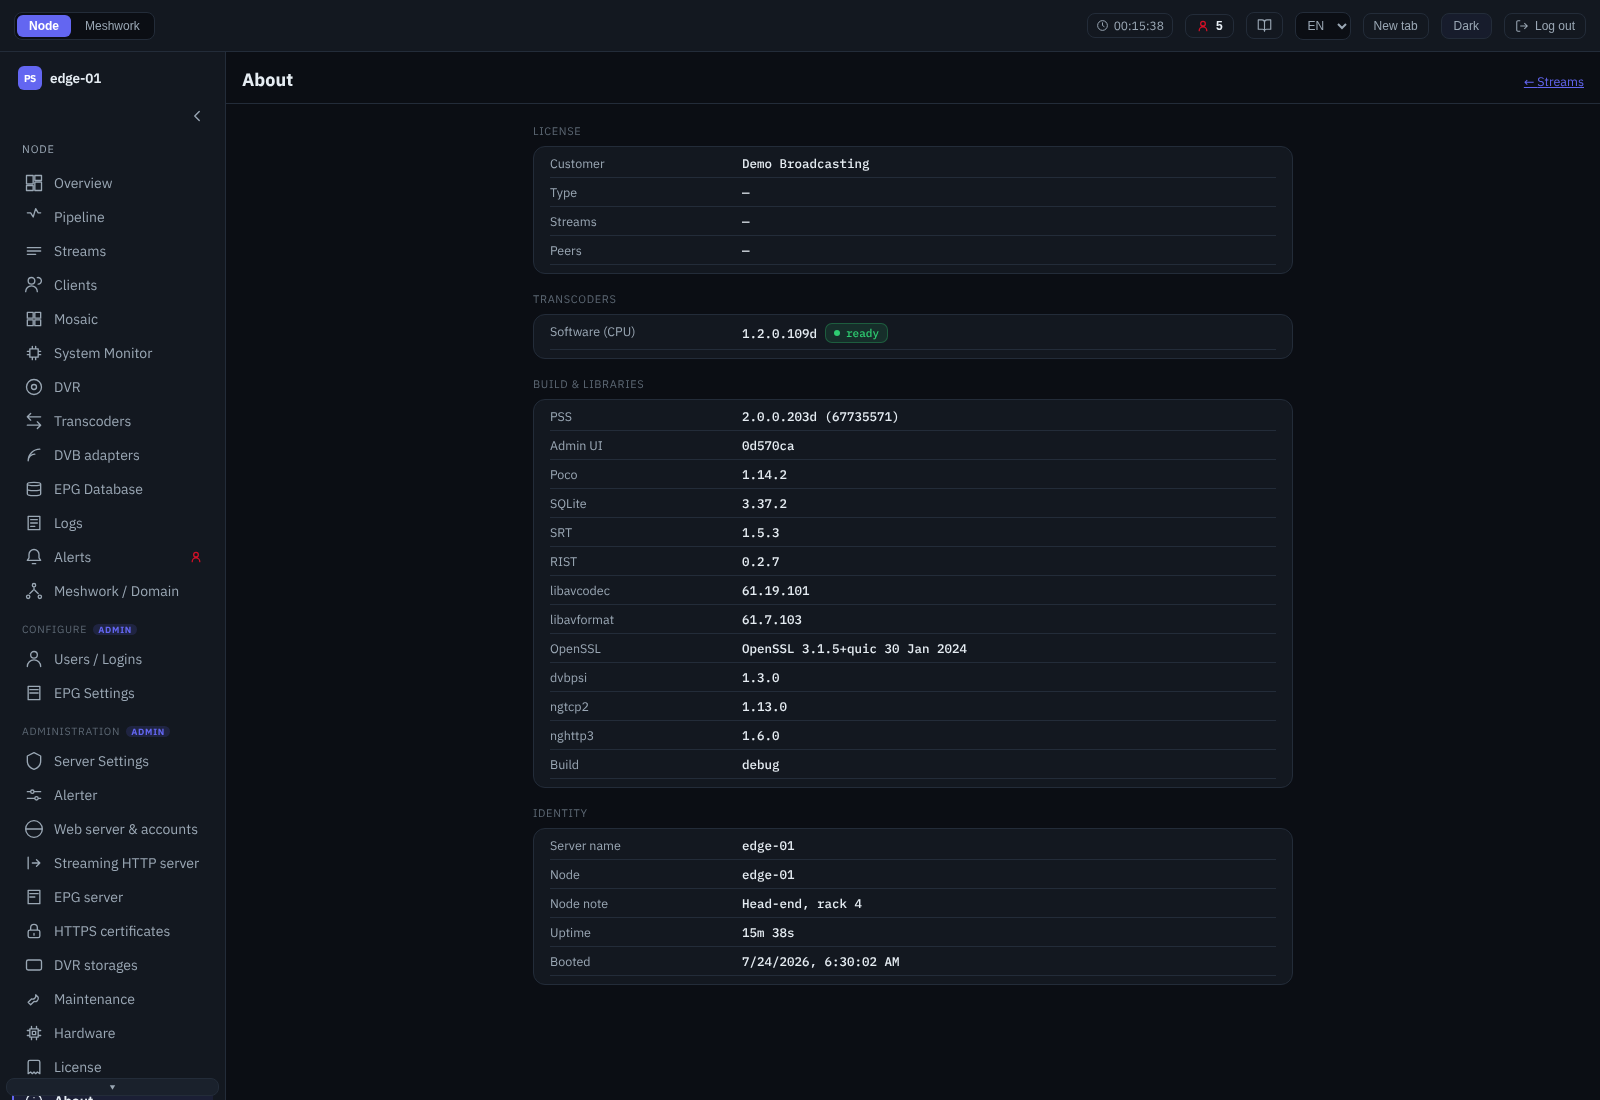
About.
A system summary, grouped into sections:
- License
Brief license information — the details are on the License screen.
- Transcoders
The detected transcoding backends: type, executable version, readiness and the list of devices. Installation of the transcoder packages — in Transcoders, backend selection — in Backends and codecs.
- Build and libraries
The PSS build version and the versions of the bundled libraries, the build type.
- Identification
The server name, the node and its note, the current account, the uptime and the start time, the source IP restriction.
The documentation can also be invoked from the common interface chrome (Common bar).